Epson - Driver Setup
Requirements
- Epson RC+ Software installed on a Windows PC. The Epson RC+ Software is usually delivered as a CD together with the Epson robots. You can also download it from the official Epson site: DOWNLOAD

- Robot controller's password is the default or knwon.
Warning
Currently, the drag&bot Epson driver was only tested with the SPEL 7.0+ controller.
Important
- The Controller Digital Outputs pins 8 to 15 should not be assigned to any of the system status output signal, otherwise setting the controller digital IOs will not work.
- You can change the system status output signals and their assignment from : Setup Menu -> System Configuration -> Controller -> Remote Control -> Outputs.
Downloads
The required controller files can be downloaded from here: Downloads
In order to upload the drag&bot driver into the Epson controller, the steps below shall be followed:
- STEP-00: Wire and connect the Emergency Stop.
- STEP-01: Download the Drag&Bot Driver.
- STEP-02: Open the Drag&Bot Driver with Epson RC+ Software.
- STEP-03: Connecting to the Controller.
- STEP-04: Configuring the Controller.
- STEP-05: Upload the Drag&Bot Driver to the controller.
STEP-00 : Wire and connect Emergency Stop
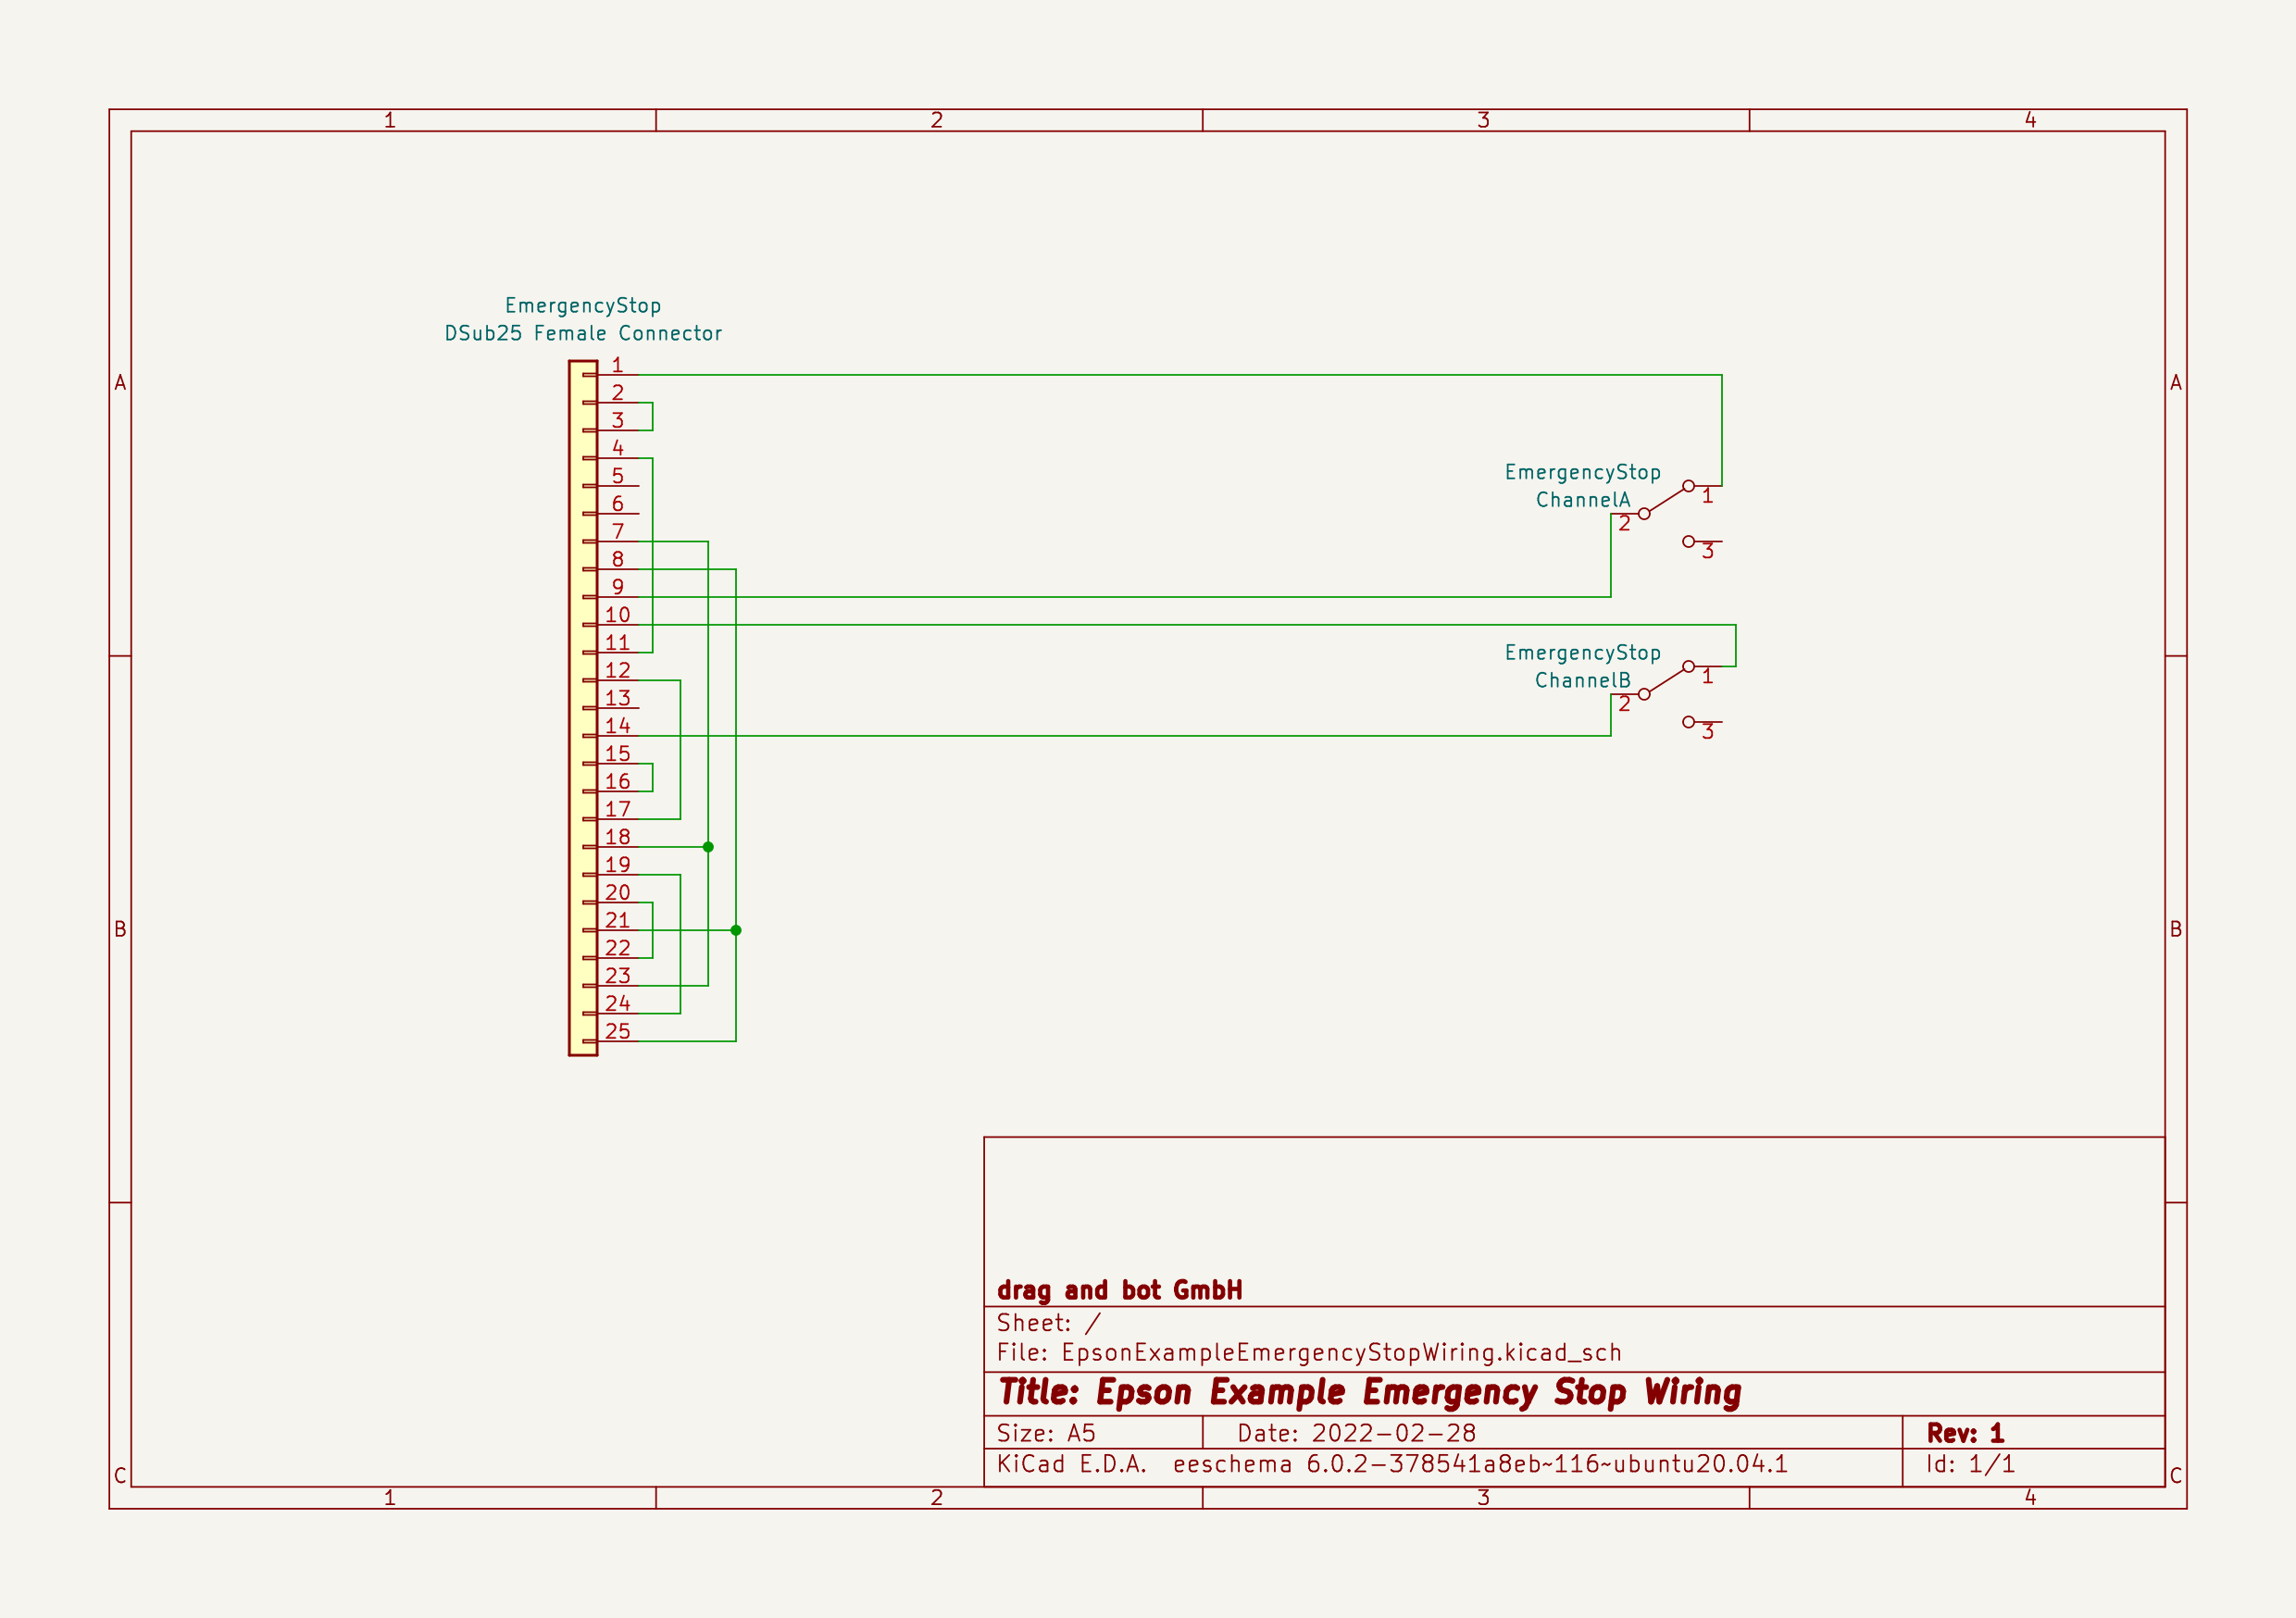
Wire and connect the Emergency Stop according to your requirements and the manual of your Epson Robot. An example for connecting one single Emergency Stop button is shown below. A female D-Sub 25 Connector is needed to connect the Emergency Stop wiring to the robot.
STEP-01 : Drag&Bot SPEL Driver
-
Download and unzip the correct drag&bot Epson controller program files from here.
-
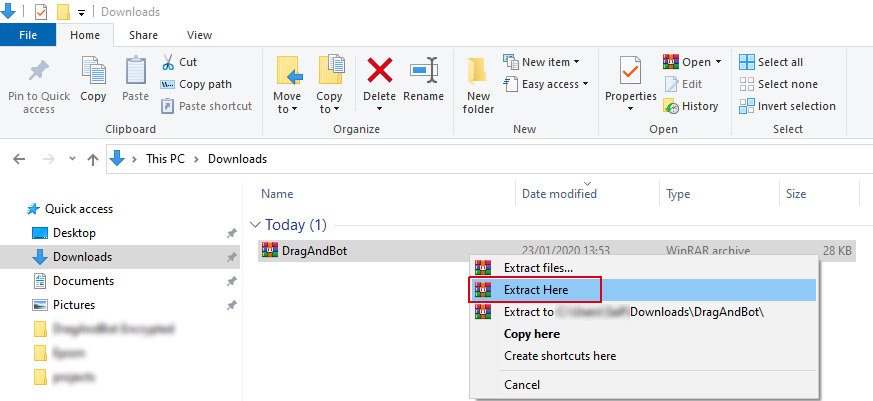
Uncompress the downloaded file.
-
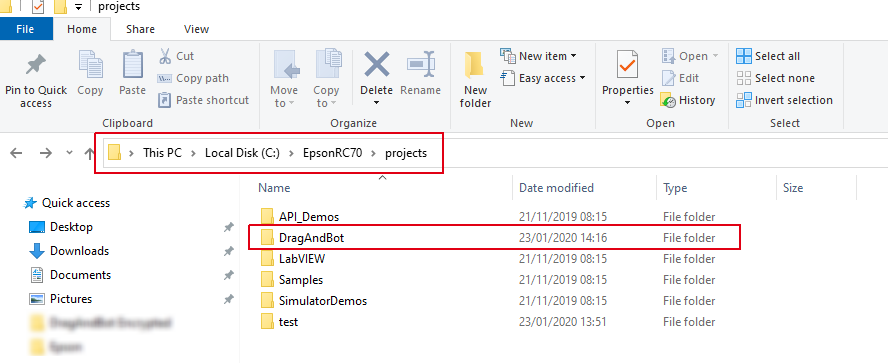
Move the 'DragAndBot' folder (uncompressed file) to the Epson RC software's folder. The default path, unless changed during installation, is : ''C:\EpsonRC70\projects''
STEP-02 : Open the Drag&Bot Driver with Epson RC+ Software
-
Open the Epson RC+ Software

-
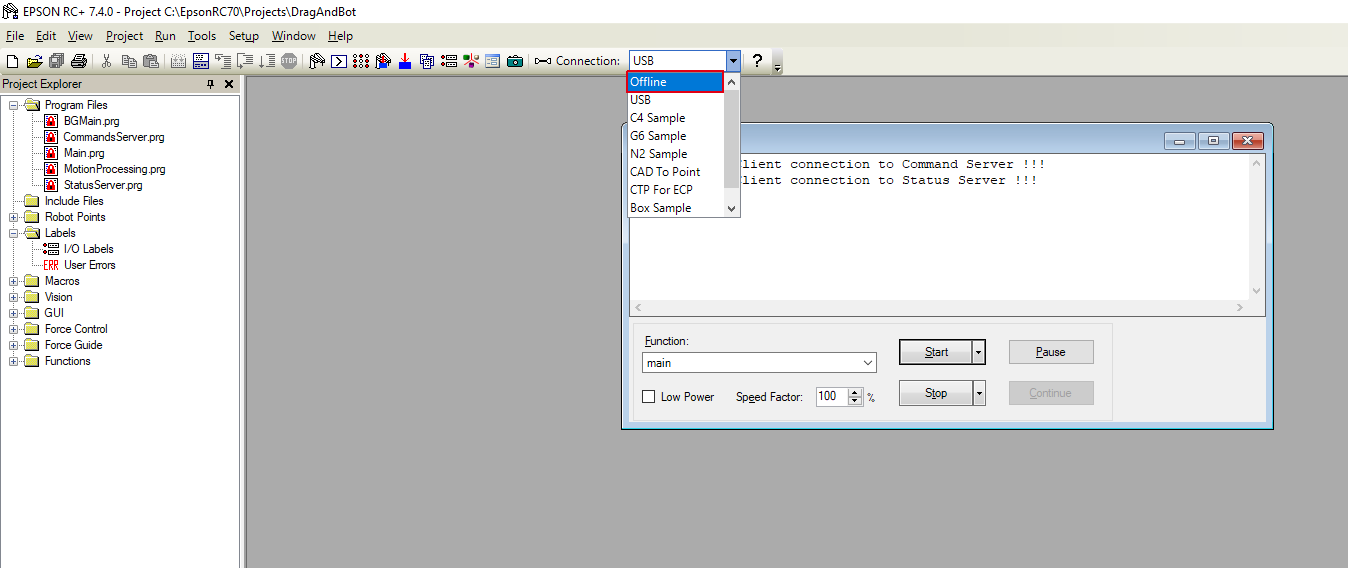
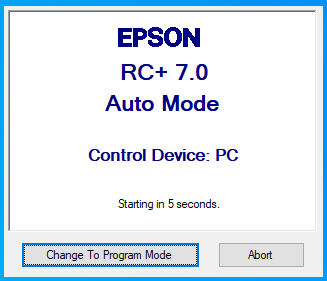
If the controller is running in the Auto mode and message below is shown, then please follow first the instruction Connecting to a controller in Auto Mode and continue after at this point.
-
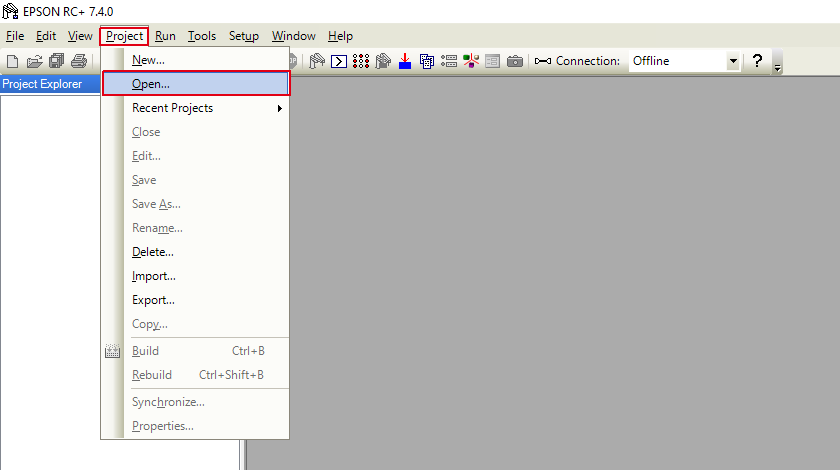
Select Open from the Project menu.
-
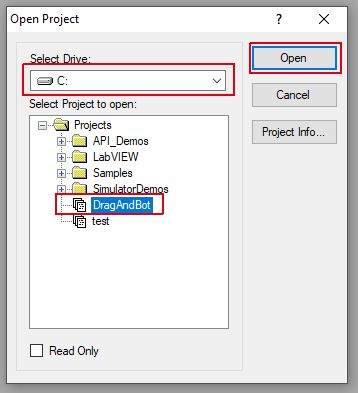
The displayed project window opens the default Epson RC+ Software's project folder. Select DragAndBot and then click Open.
STEP-03 : Connecting to the Controller
-
Connect the USB cable between the Epson Controller and your PC.
-
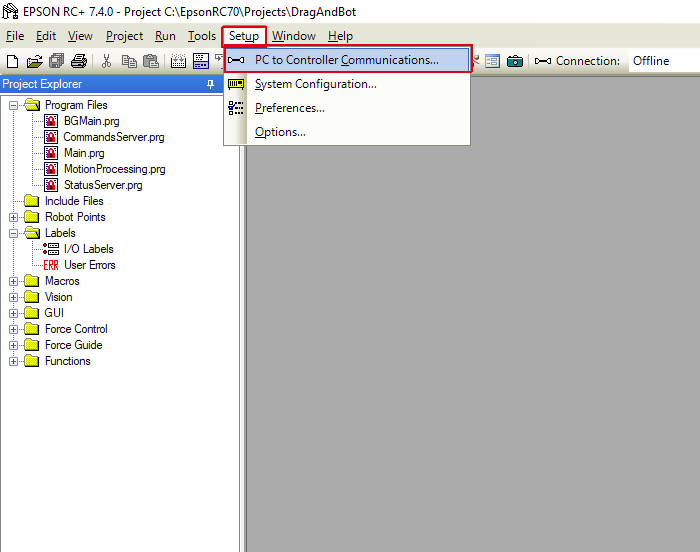
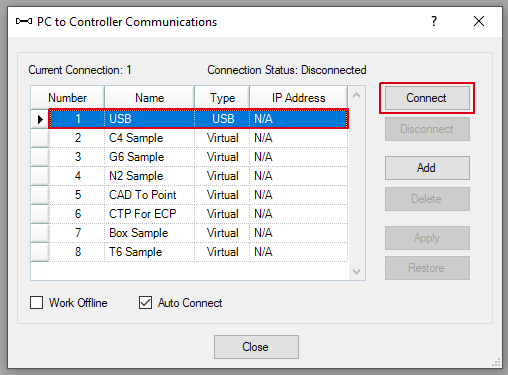
Select PC to Controller Communications... from the Setup menu .
-
Select USB and then click on Connect.
-
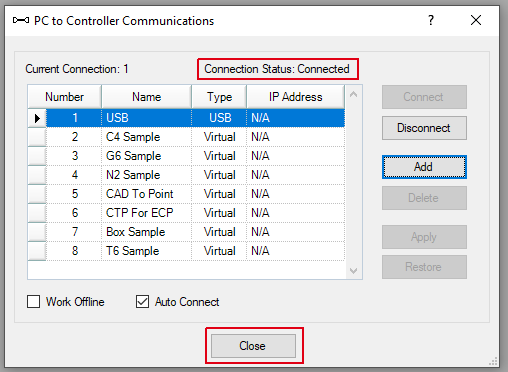
Wait till the connection status become Connected and then click on close.
STEP-04 : Configuring the Controller
-
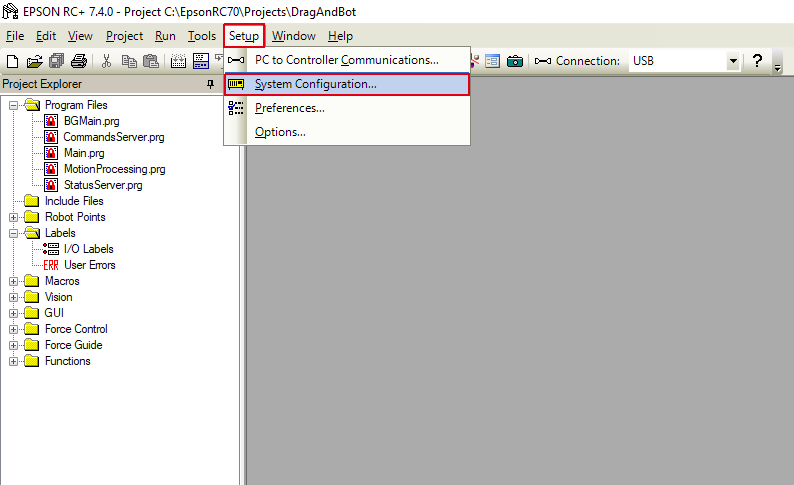
Select System Configuration from the Setup menu.
-
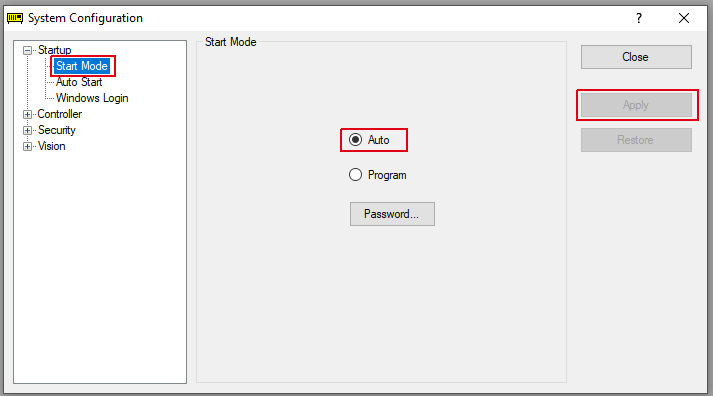
Select Auto under Startup -> Start Mode and click Apply.
-
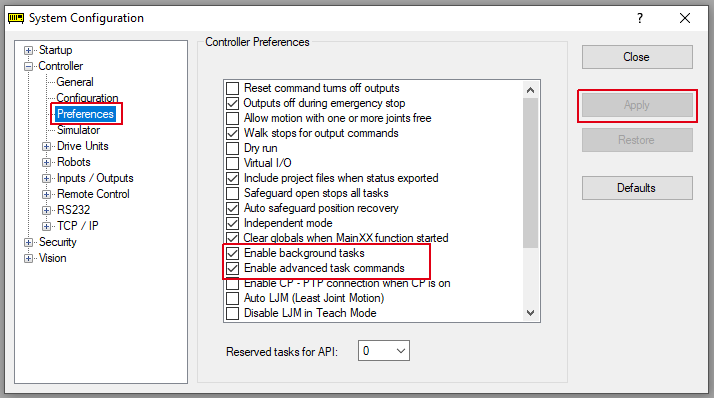
Enable Enable background tasks and Enable advanced tasks commands under Controller -> Preferences and then click Apply.
-
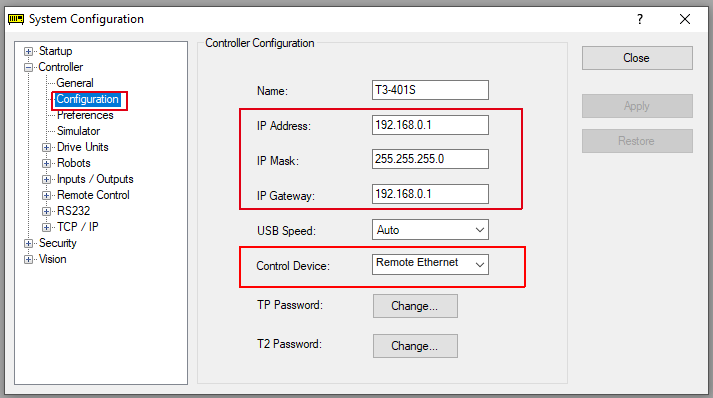
Under Controller -> Configuration Select Remote Ethernet under the Control Device. You can check and change the robot IP number here.
-
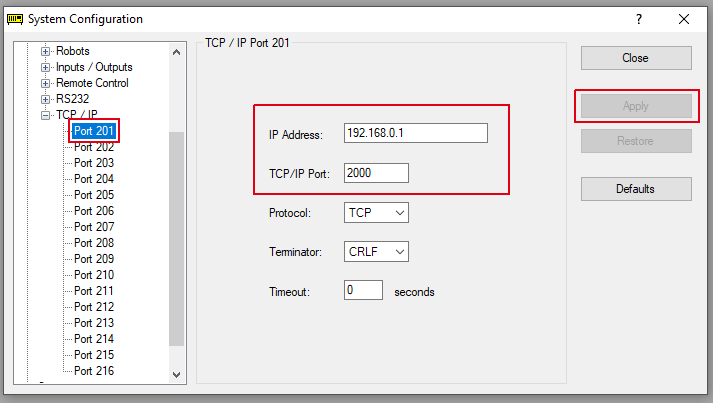
Please enter the IP address of your robot under Controller -> TCP/IP -> Port 201 and set TCP/IP Port = 2000, then click Apply.
-
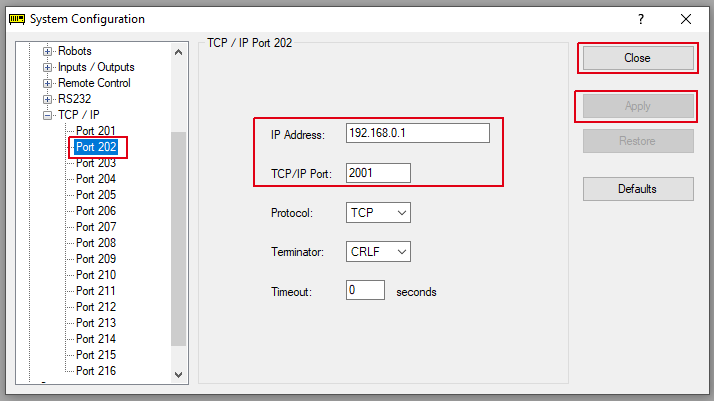
Please enter the IP address of your robot again under Controller -> TCP/IP -> Port 202 and also TCP/IP Port = 2001. Click Apply, then click Close. The controller may restart itself to apply the new configuration, in that case wait till the controller boots again to connect to it again.
STEP-05 : Upload the drag&bot driver to the controller
-
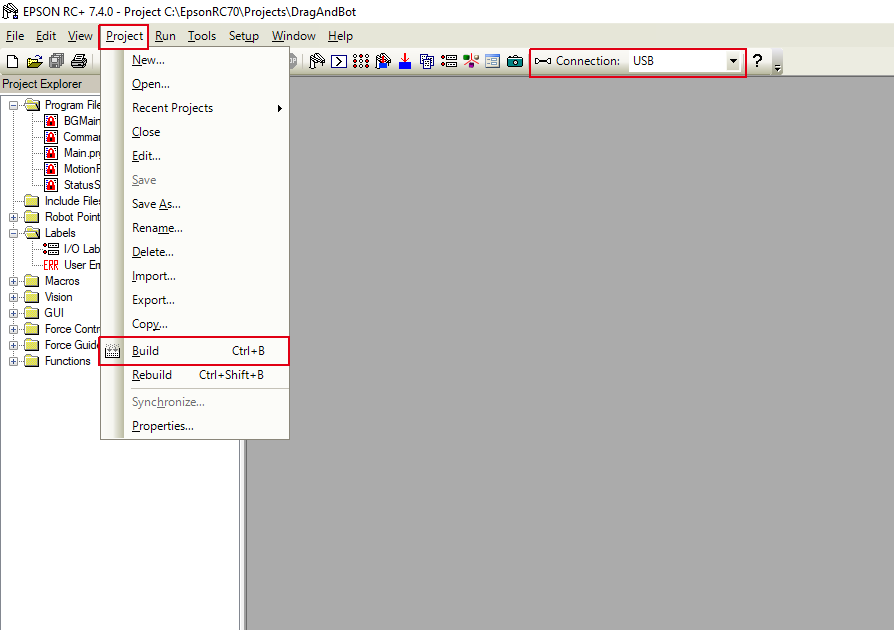
Select Build from the Project menu. Ensure that Connection shows USB, if not follow Step-3.
-
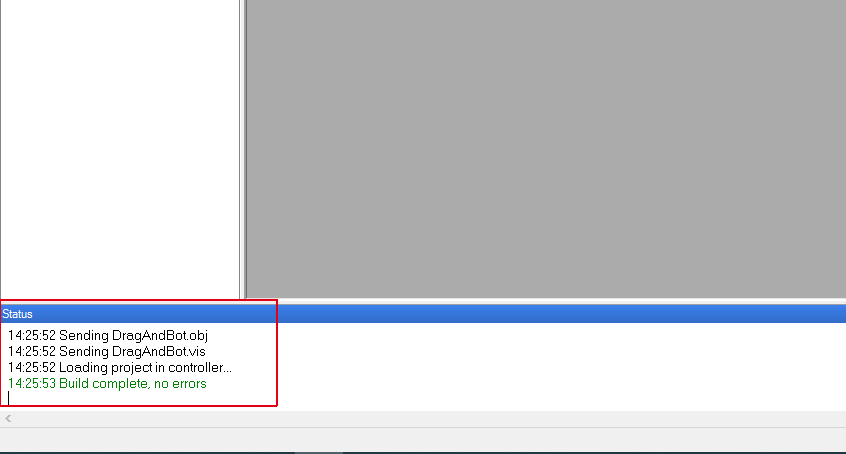
The drag&bot driver should be compiled withour an error.
-
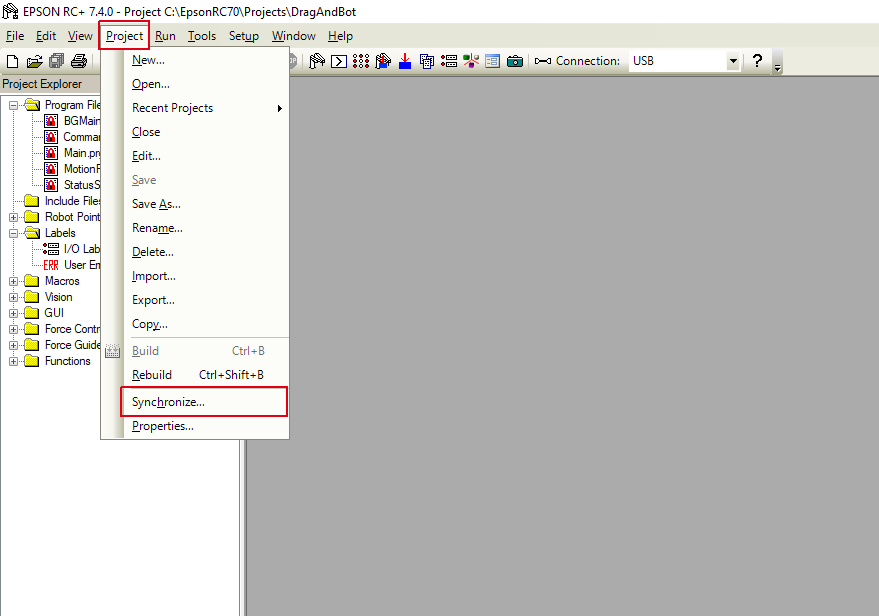
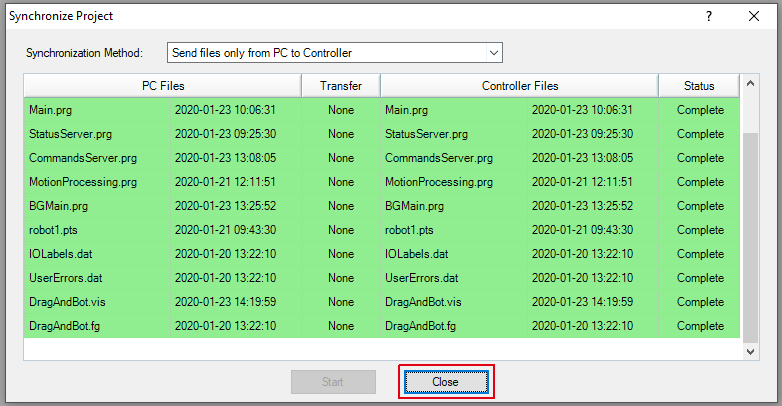
Select Synchronize from the Project menu.
-
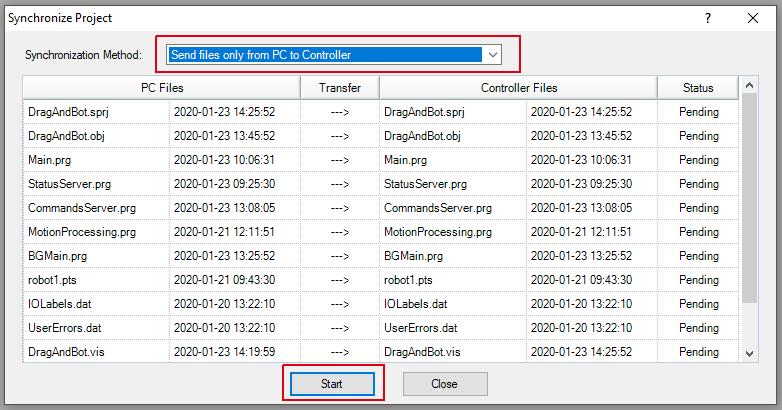
Select Send files only from PC to Controller, then click Start.
-
Click Start when the synchronization is finished.
-
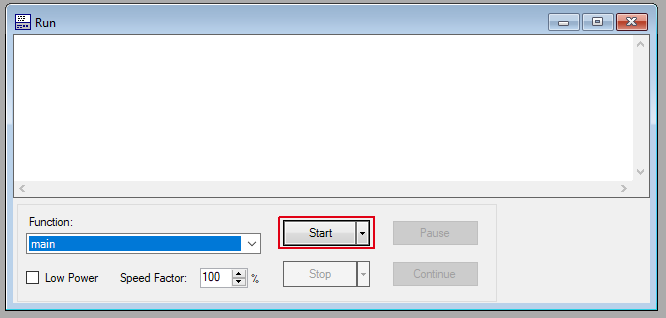
Press F5 key in your keyboard and wait till the run window is opened. Then click Start.
-
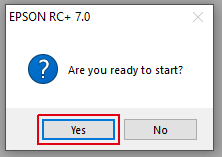
Click Yes.
-
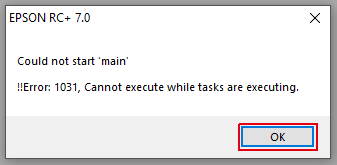
Click OK.
-
Select Offline in the Connection field. Then disconnect the USB cable between the controller and your PC.