Yaskawa Driver Usage
Requirements
The driver must be installed on the robot controller following the Normal Pendant instructions or Smart Pendant instructions.
After the driver is installed in the robot controller, to use the robot with drag&bot you will need to:
- STEP-01: Start the Controller.
- STEP-02: Configure static IP on the drag&bot IPC in range of robot controller (e.g. 192.168.255.2) and connect the IPC to it through ethernet cable.
- STEP-03: Add the corresponding Yaskawa Controller drag&bot component in the Robot System. Configure robot IP and the robot model.
Step 1: Start the controller
-
Turn on the Controller. The drag&bot driver will be loaded at the controller startup automatically.
-
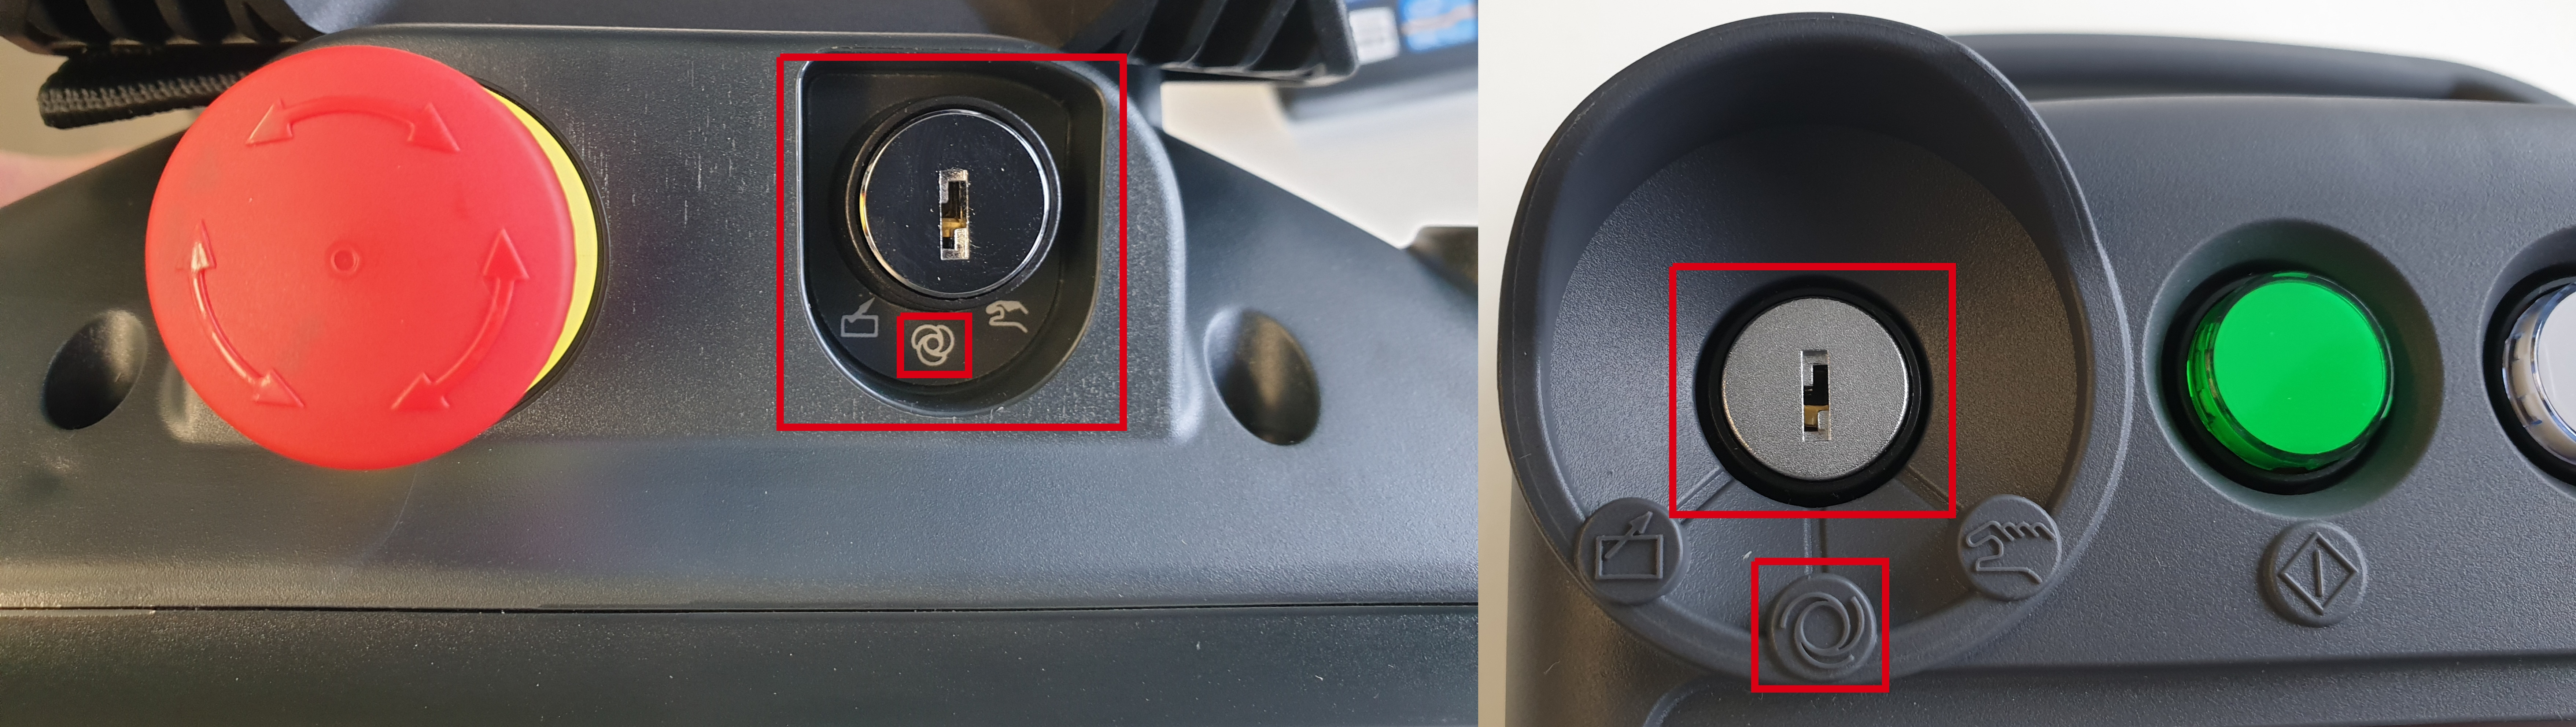
Ensure that the teach pendant mode key is turned to PLAY MODE, so that the drag&bot can control the robot.
Step 2: Network connection
Connect the drag&bot IPC through ethernet cable to the robot controller. Then configure a static IP in the same range (e.g. 192.168.255.2) of the robot controller with a mask of 255.255.255.0. More information about network can be found in Network Setup and Robot Network Configuration documentation.
Please refer to your Yaskawa controller manual in order to find your correct controller ethernet port.
Step 3: Robot system configuration
-
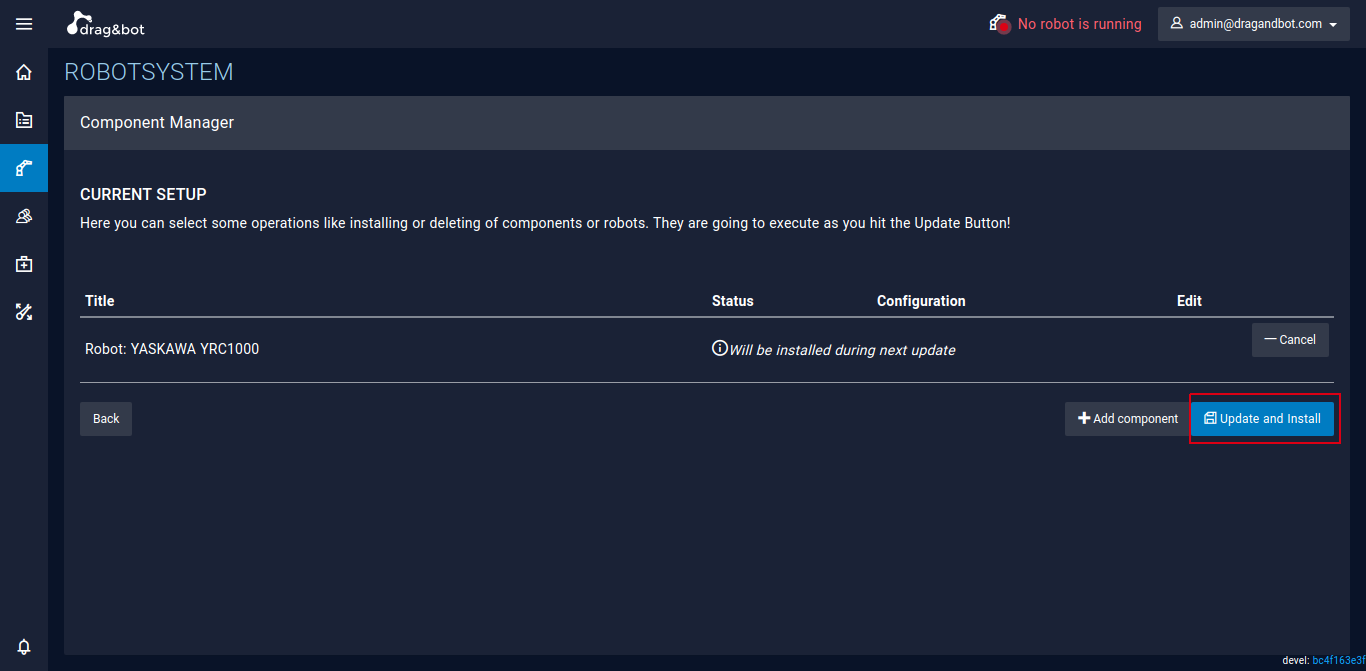
Please select YASKAWA YRC1000 from the drop-down menu in the drag&bot Component Manger.

-
Click on Update and Install.
-
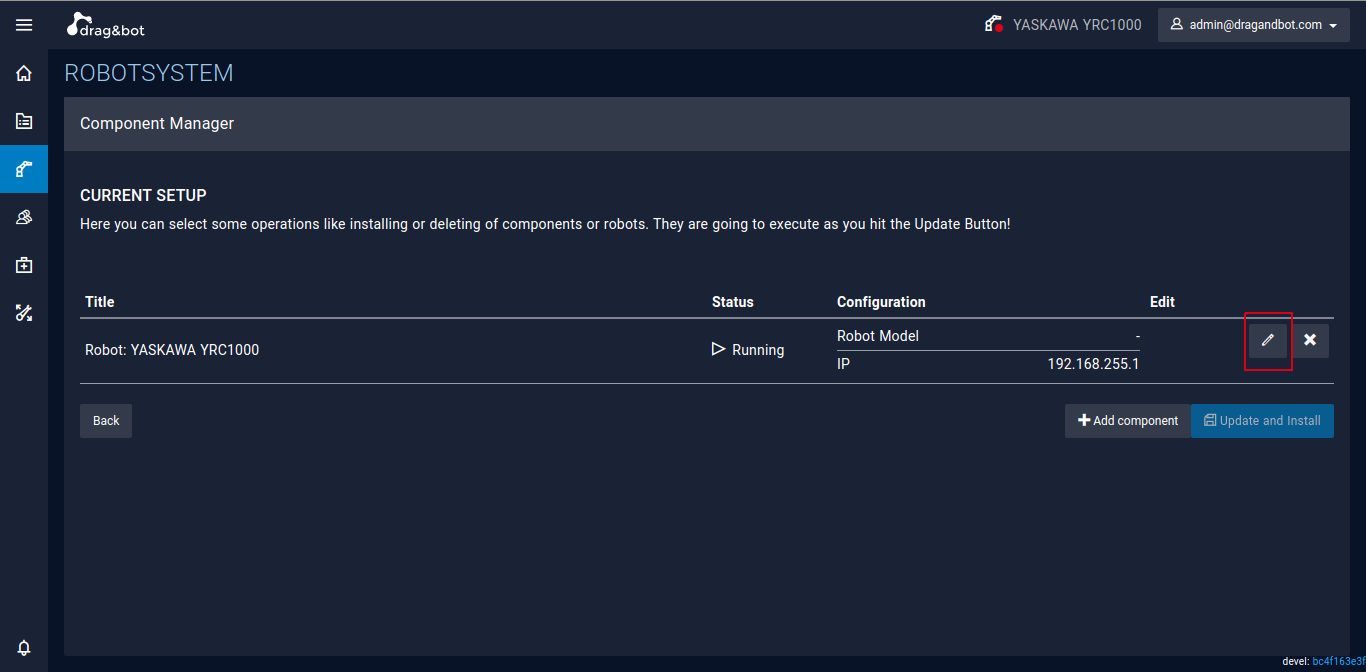
Click on the PEN icon to edit the driver configuration.
-
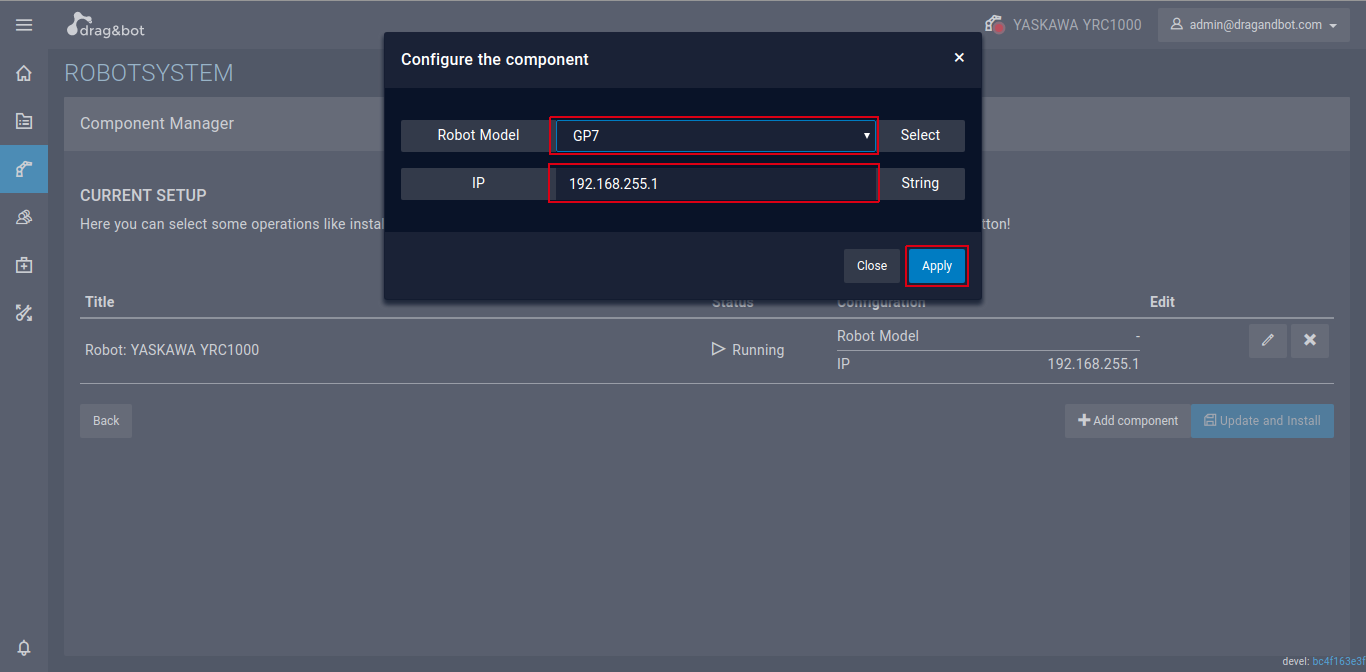
Enter your robot IP address if differs and select your robot model number, then click Apply. If your robot model number is not shown in the list than just select '-' to set a generic view.
-
If pressed, release the teach pendant and controller emergency button and start using the drag&bot.
Digital Inputs and Outputs
The YASKAWA MotoPlus controllers provide several Digital I/Os, which are accessible through drag&bot:
| Controller Ports | Type | drag&bot Pin |
|---|---|---|
| Digital Input 1 to 64 | Digital Input | DI[1] to DI[64] |
| Digital Output 1 to 64 | Digital Output | DO[1] to DO[64] |
To interact with the Digital I/Os using this numbering in your programs use the function blocks
- Digital I/O Device - Get
- Digital I/O Device - Set
- Digital I/O Device - Wait For
as described in the Function Block Library overview.